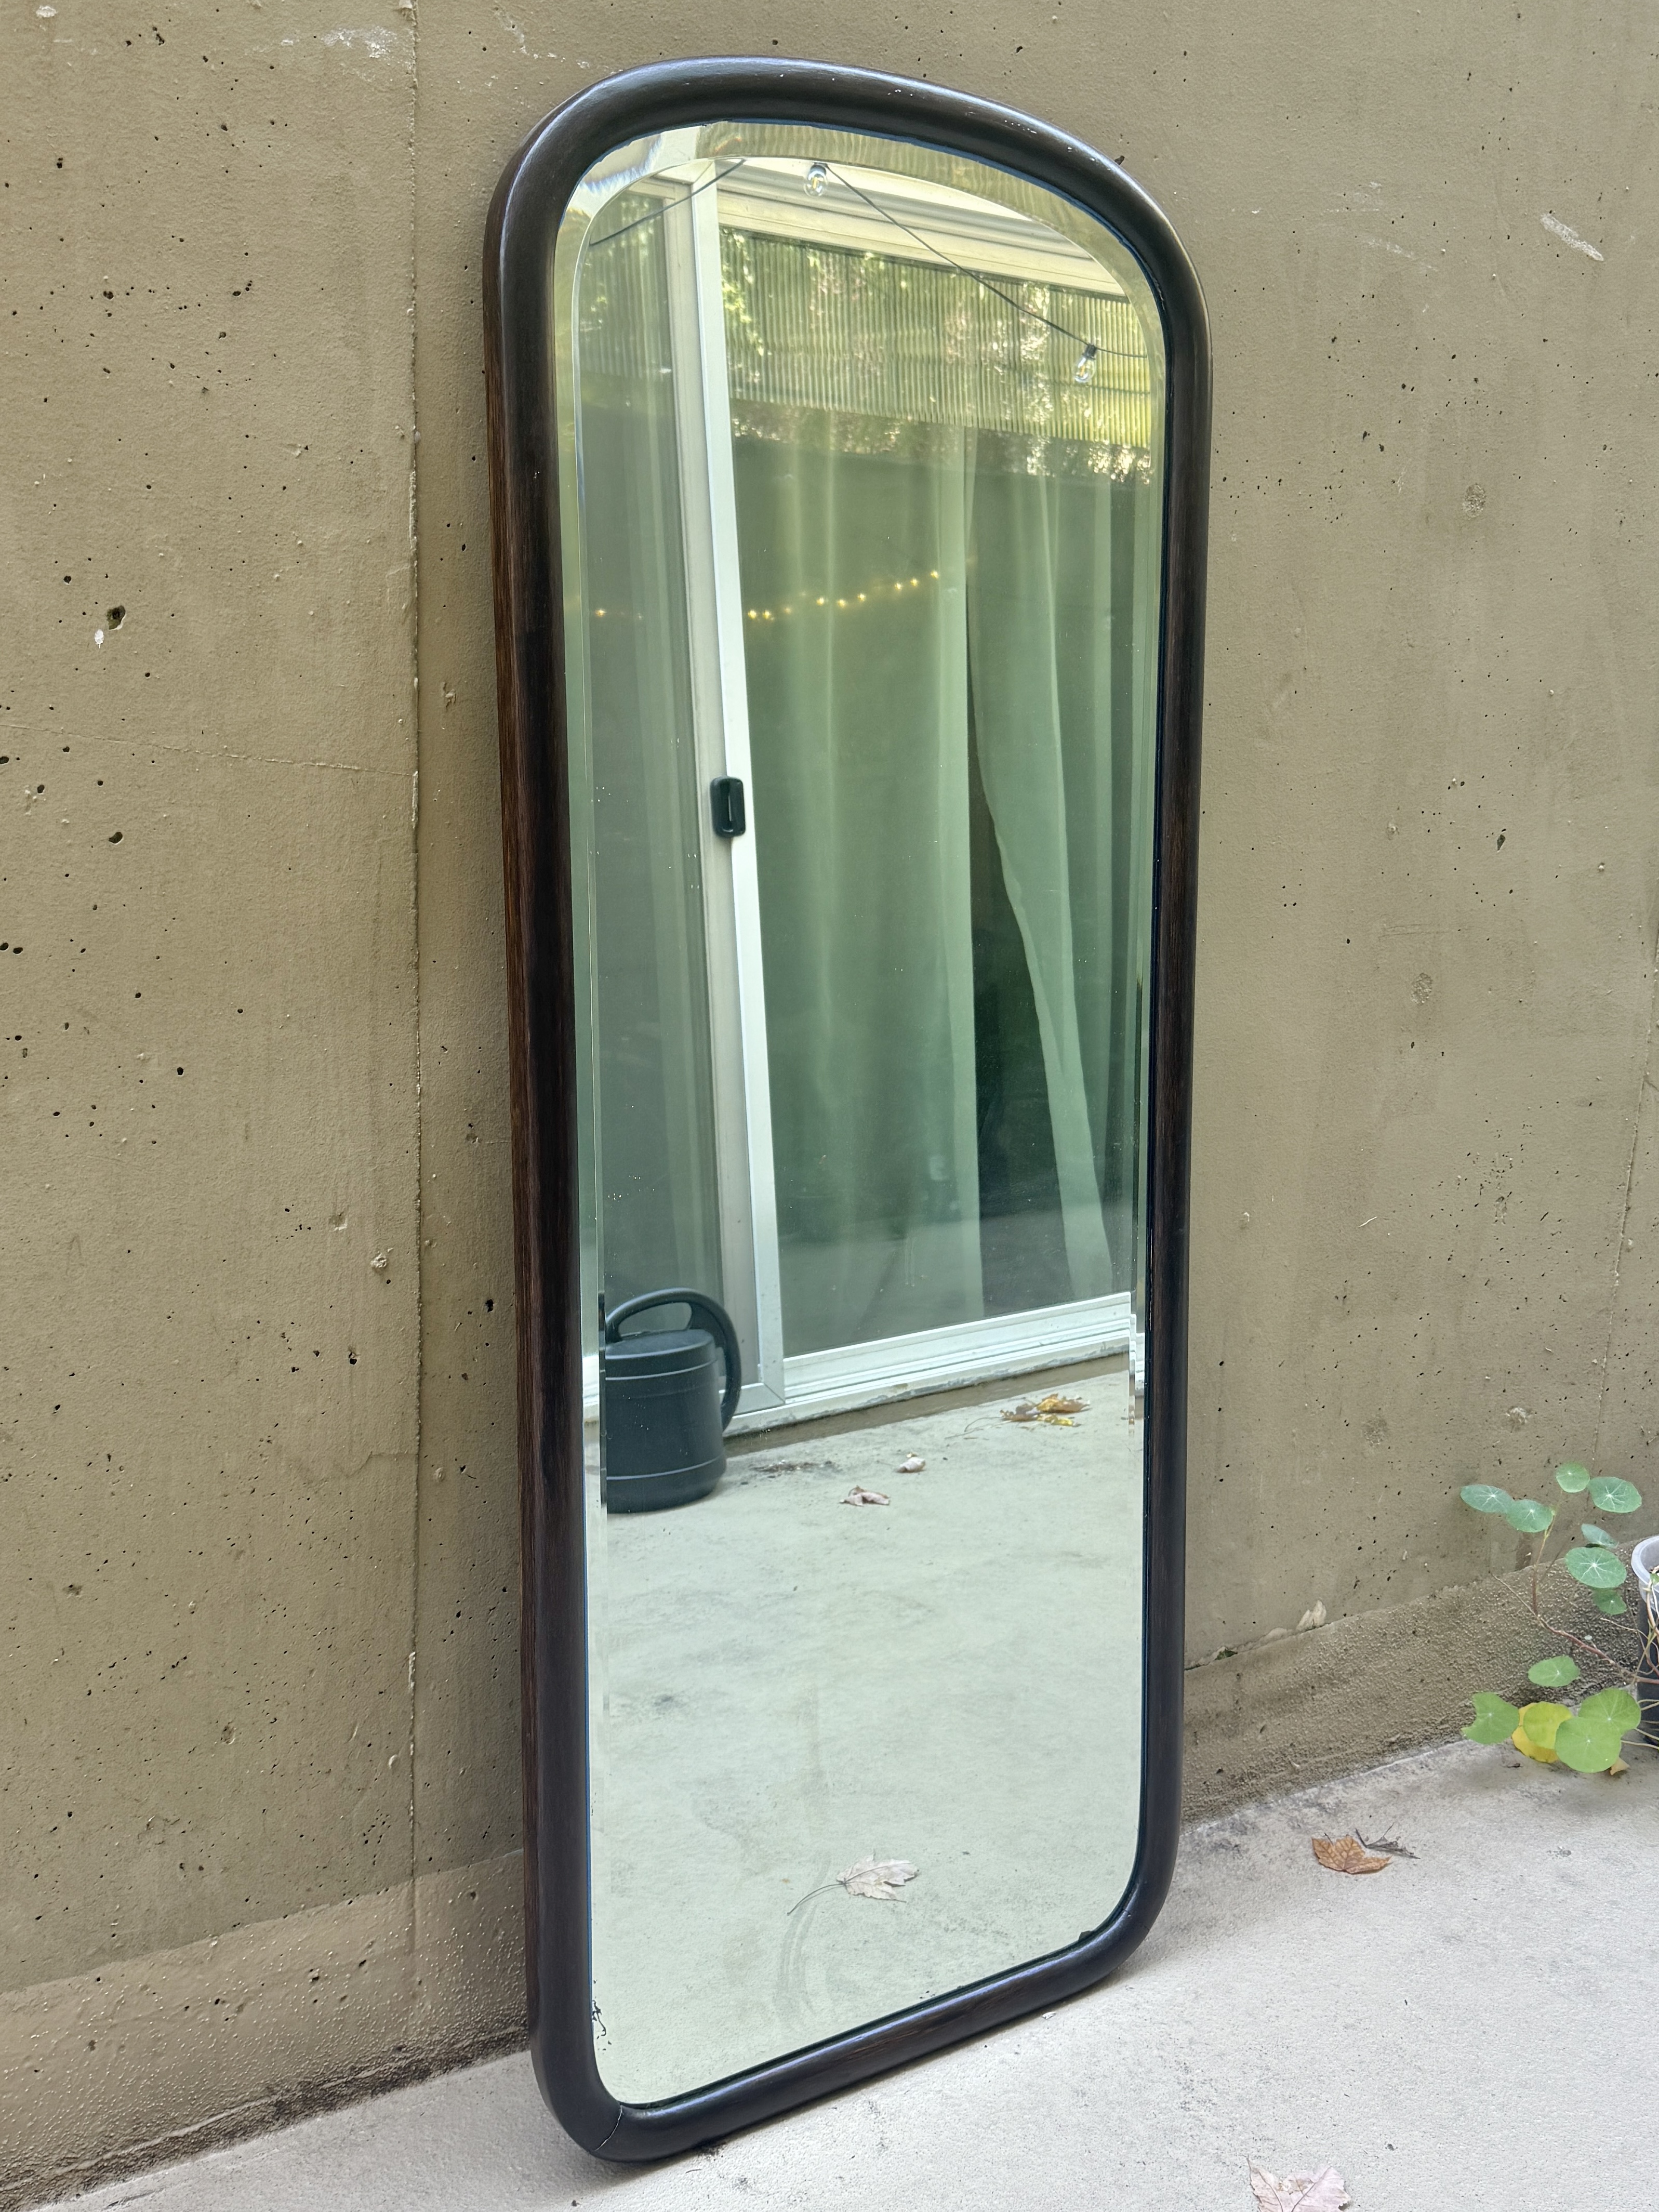
Refinishing a vintage mirror
I went to an estate sale back in 2024 and found a heavy, full-length vintage mirror. The woman who was selling it had it in her childhood bedroom over 80 years ago. It was covered in layers of cigarette smoke residue and acrylic paint, but I could tell by its weight that there was something good under all the paint and grime. So, I managed to fit it in the little sedan I was driving and brought it home! This was my first time refinishing a piece of furniture, and it sure was a learning experience.
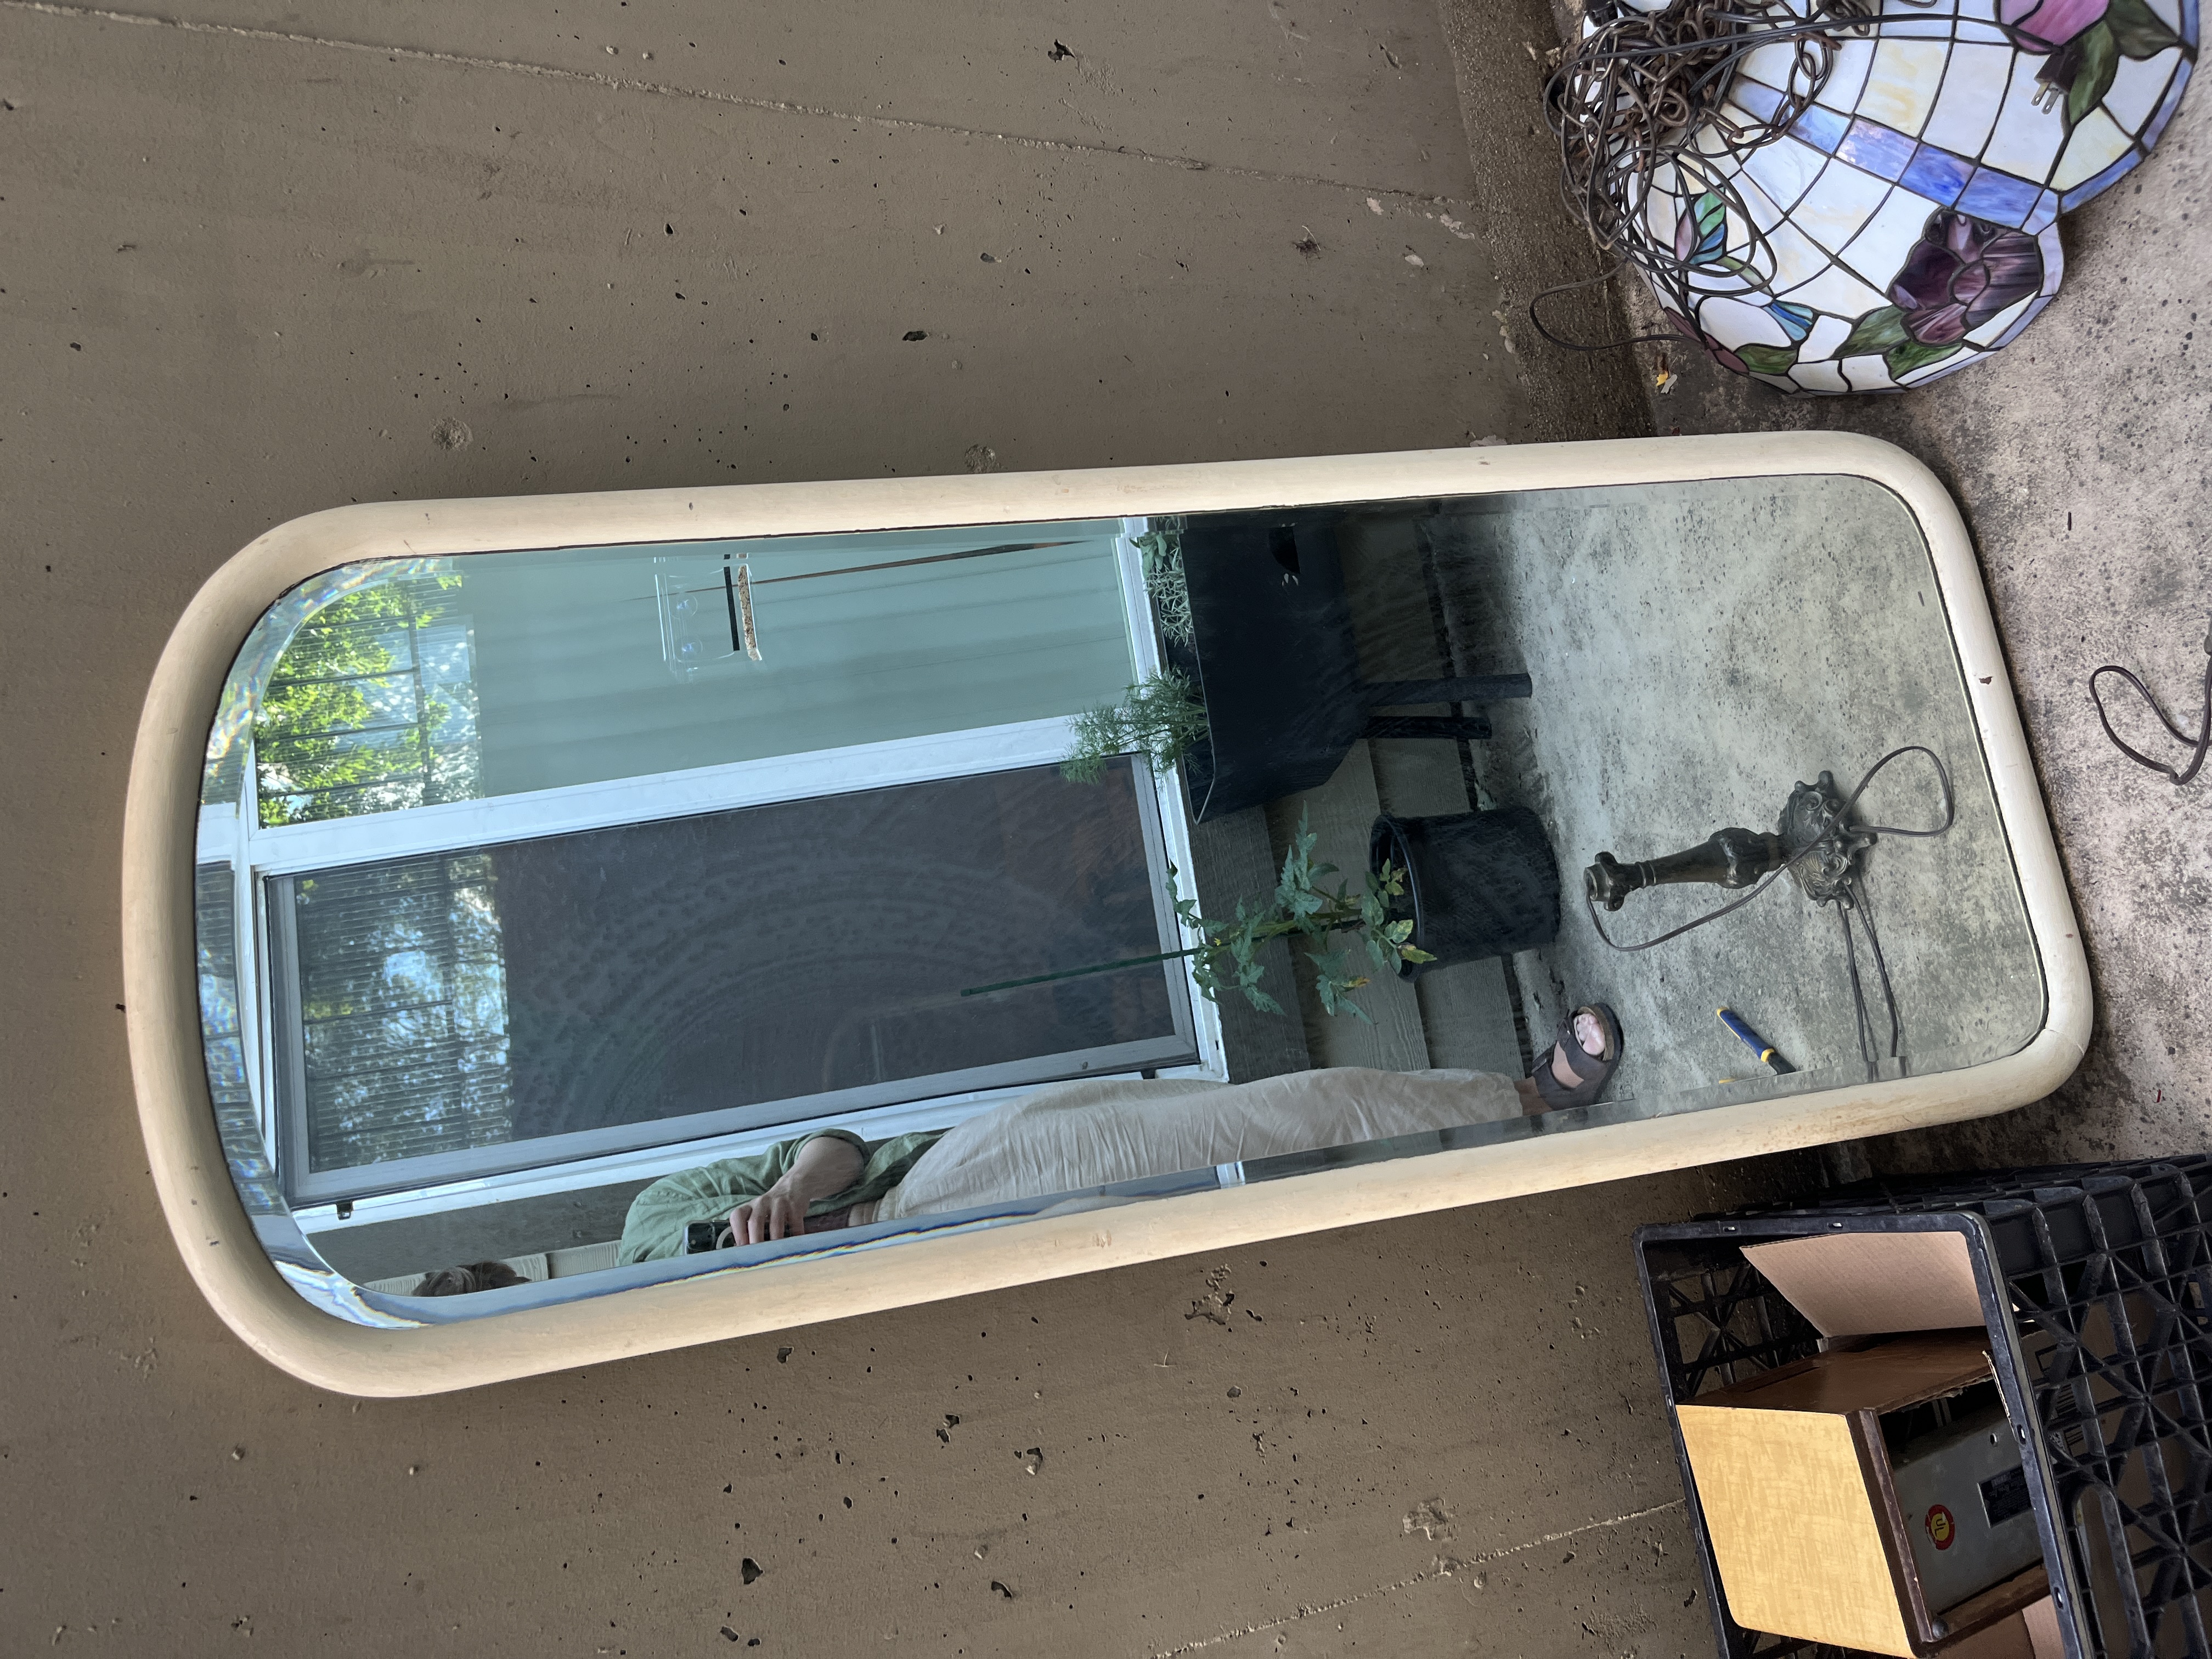
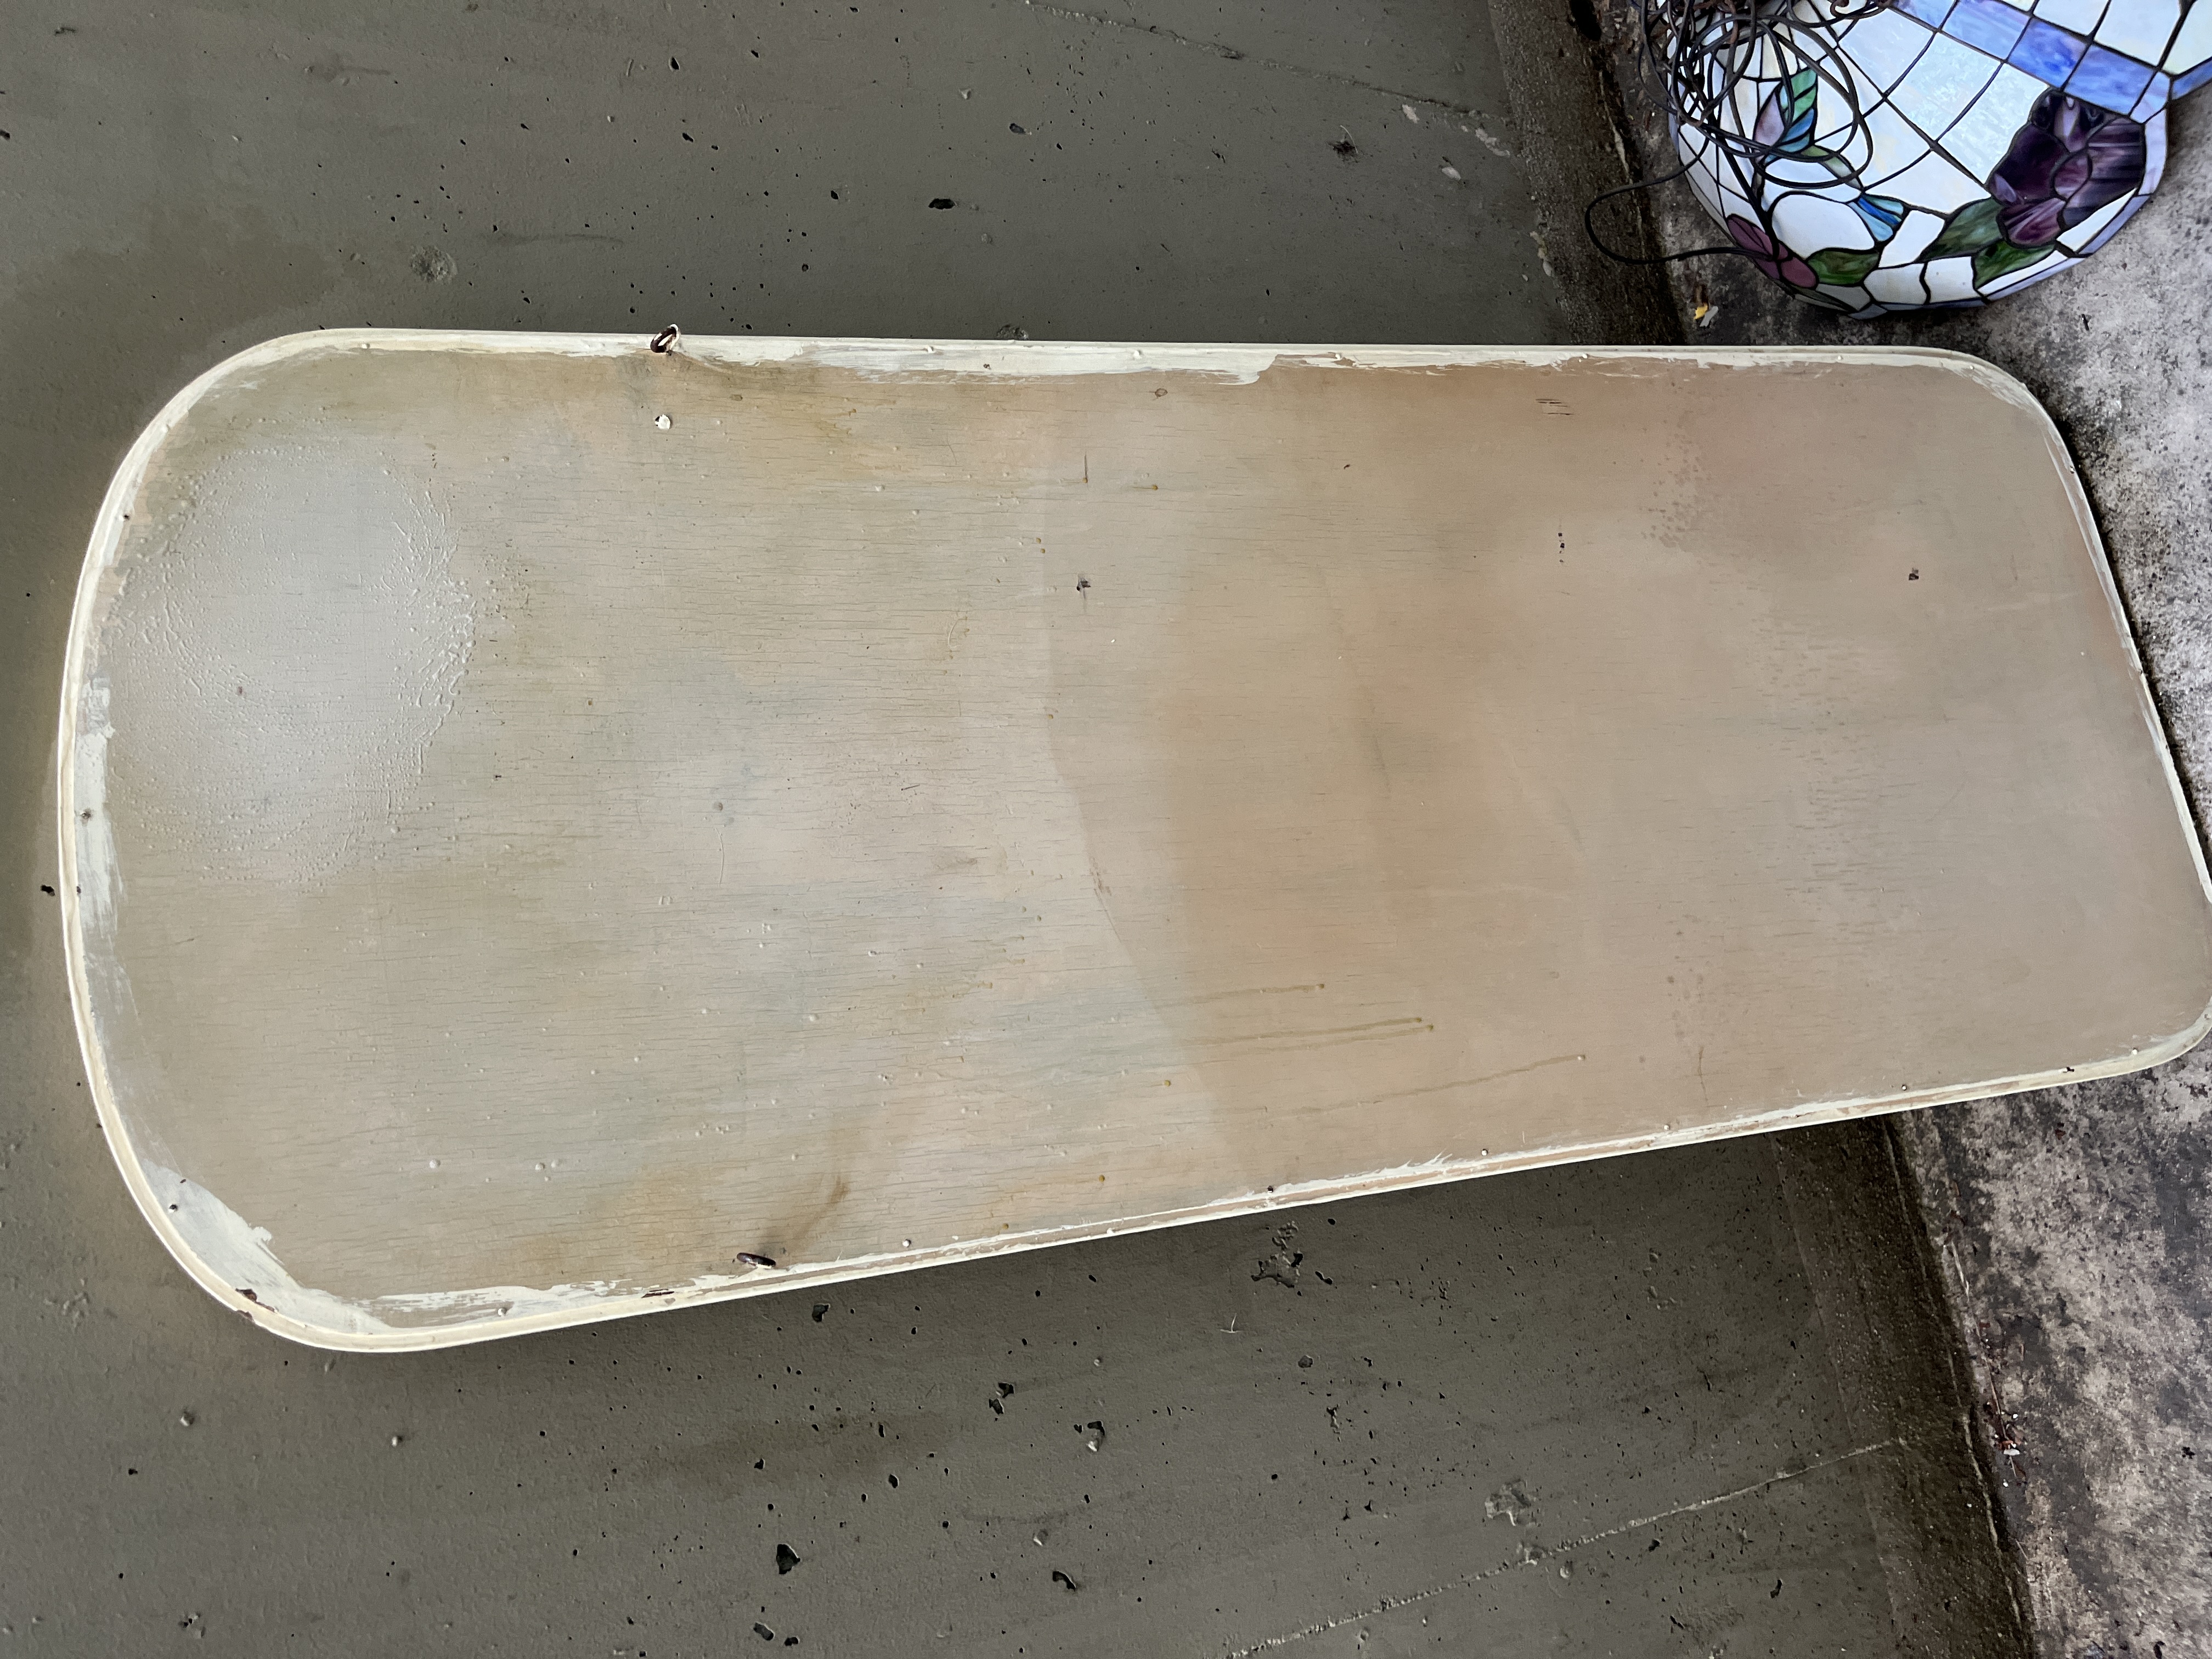
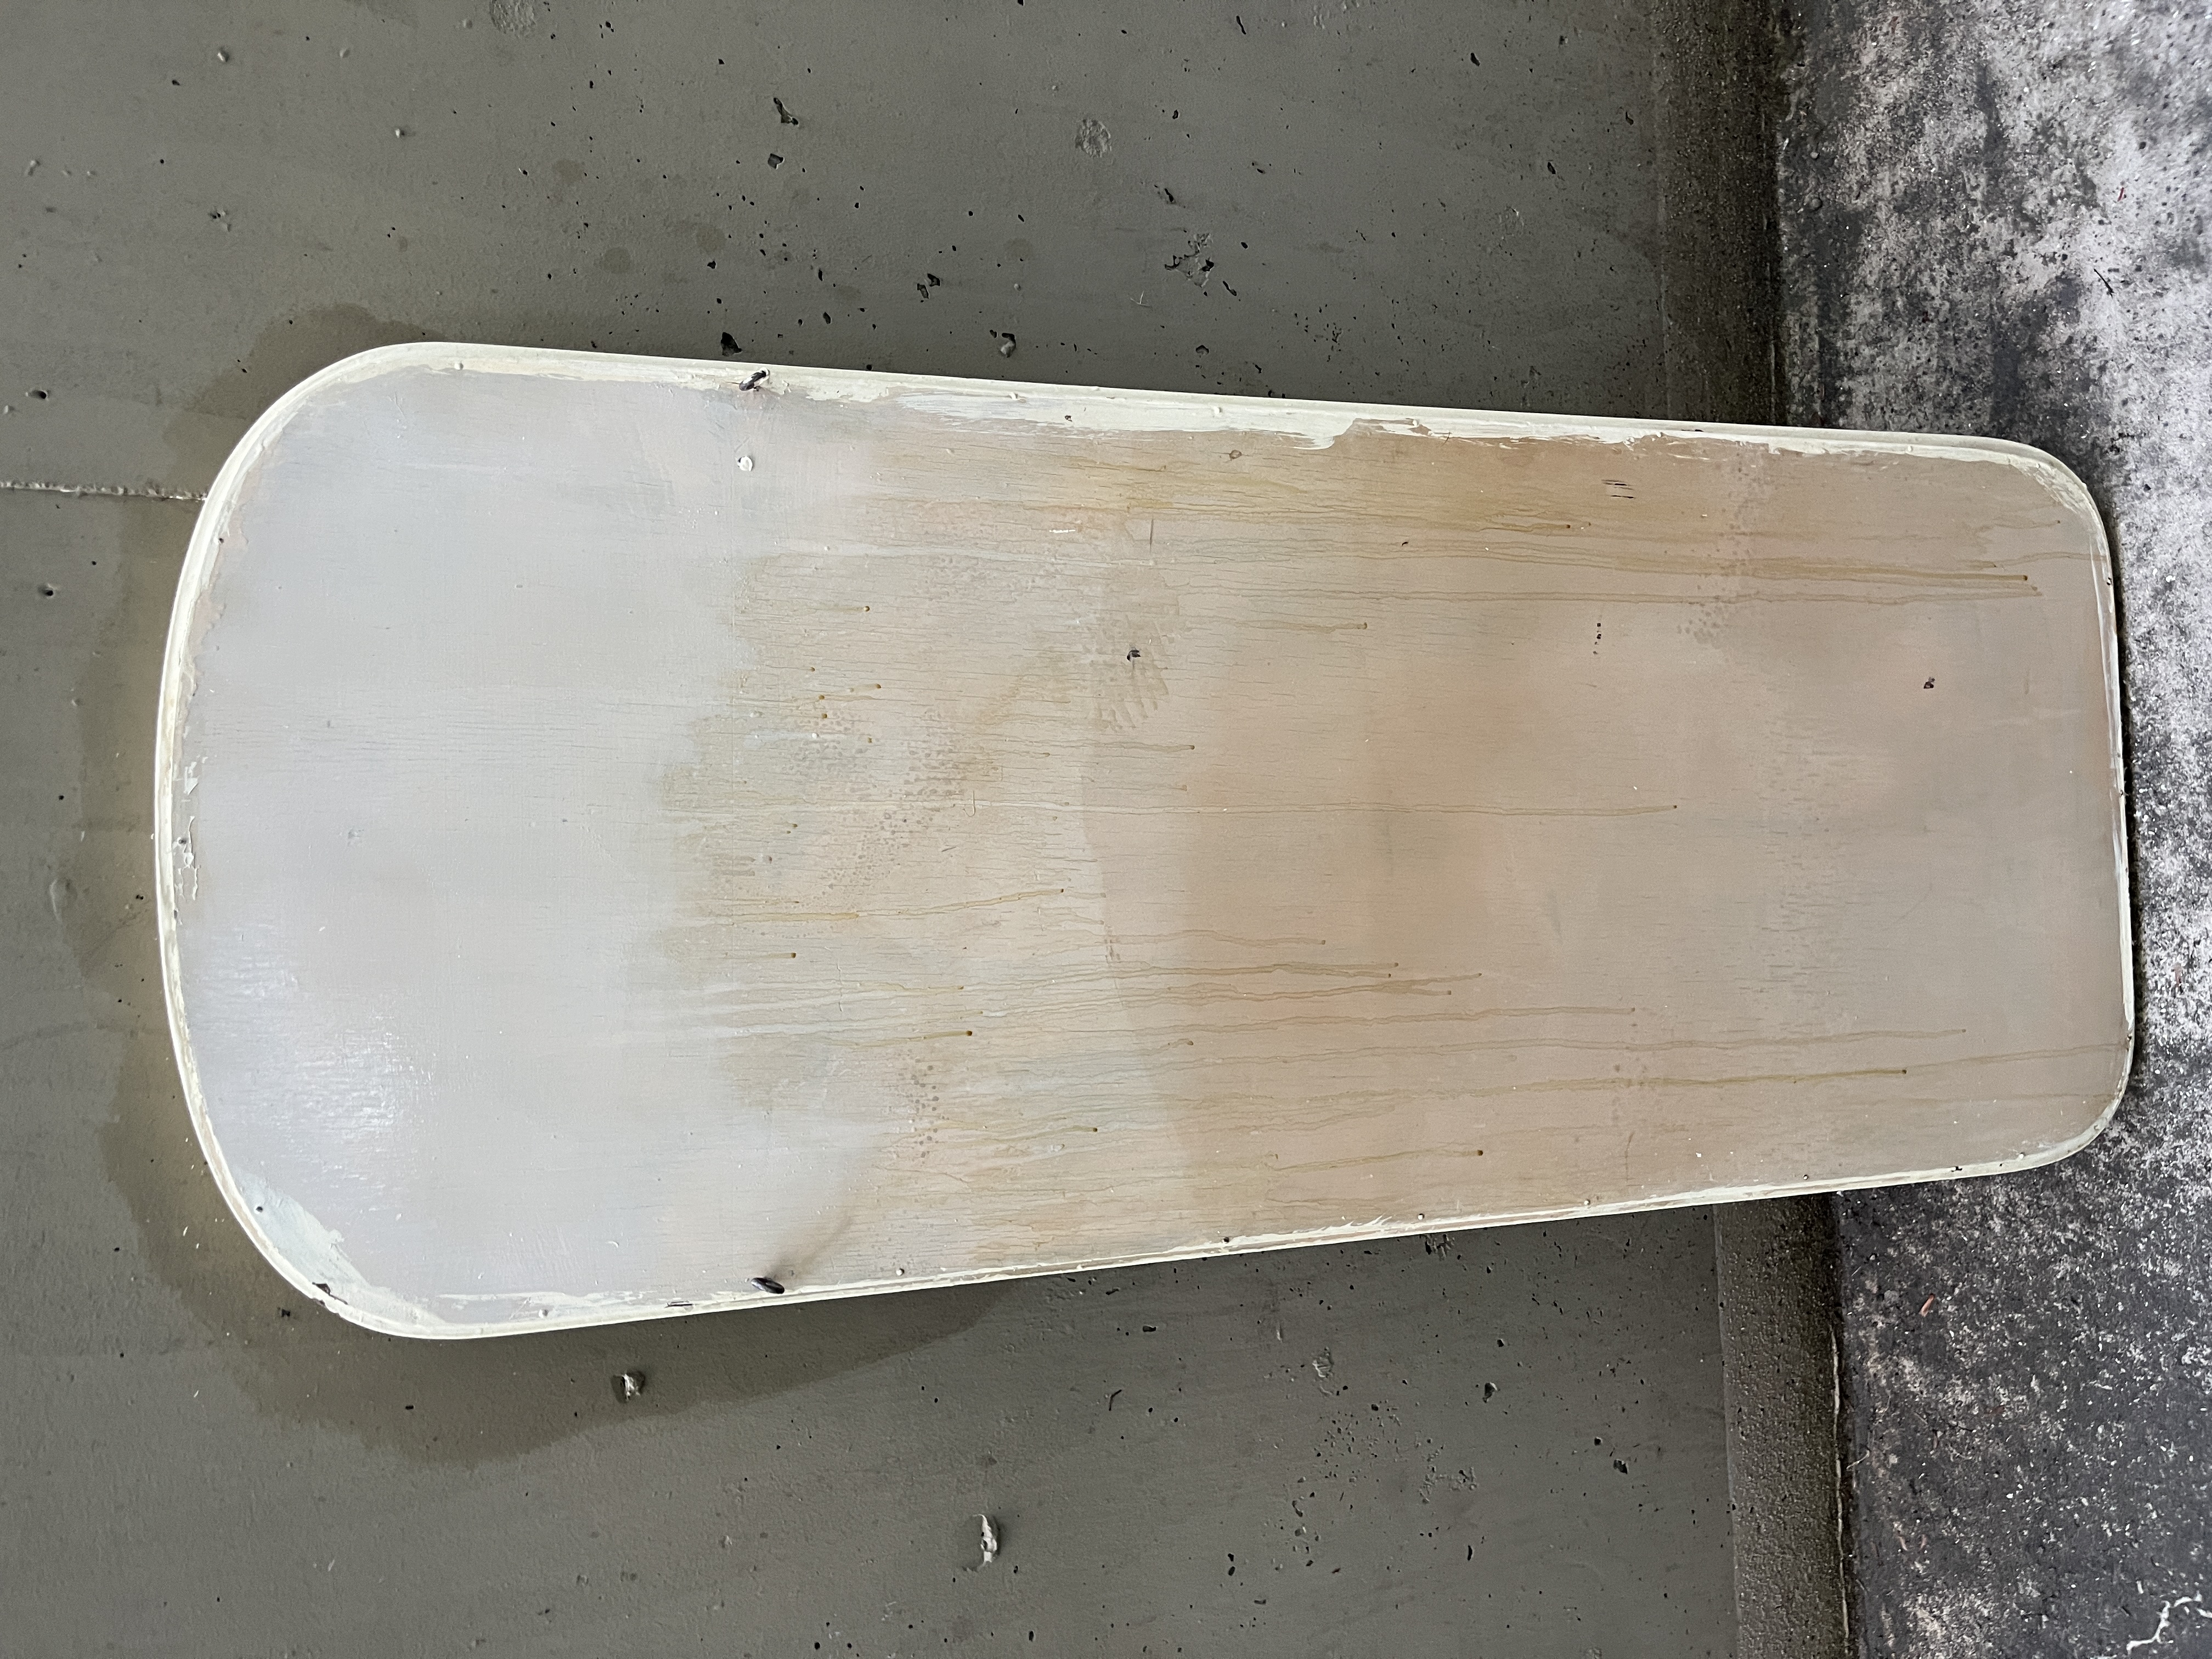
I started by washing off as much grime as I could. You can see how much brighter the top of the mirror looks vs the bottom. That’s years and years of cigarette smoke and dirt. I didn’t need to wash it, since I’d be applying paint stripper to the mirror right after, but I wanted to get rid of the smoke smell as soon as possible.
Once I’d washed it, I moved on to the paint stripper. I used Max Strip Paint & Varnish Stripper. I applied it to the wood, covered it with plastic wrap, waited 30 minutes, and scraped scraped scraped. Then I did all of that a second time. I did put down a plastic dropcloth, but if I was to do this again, I’d put down a bigger one. The paint I was scraping off was sticky and got on the cement of my patio. I used mineral spirits to clean it off, but it was a pain to do.
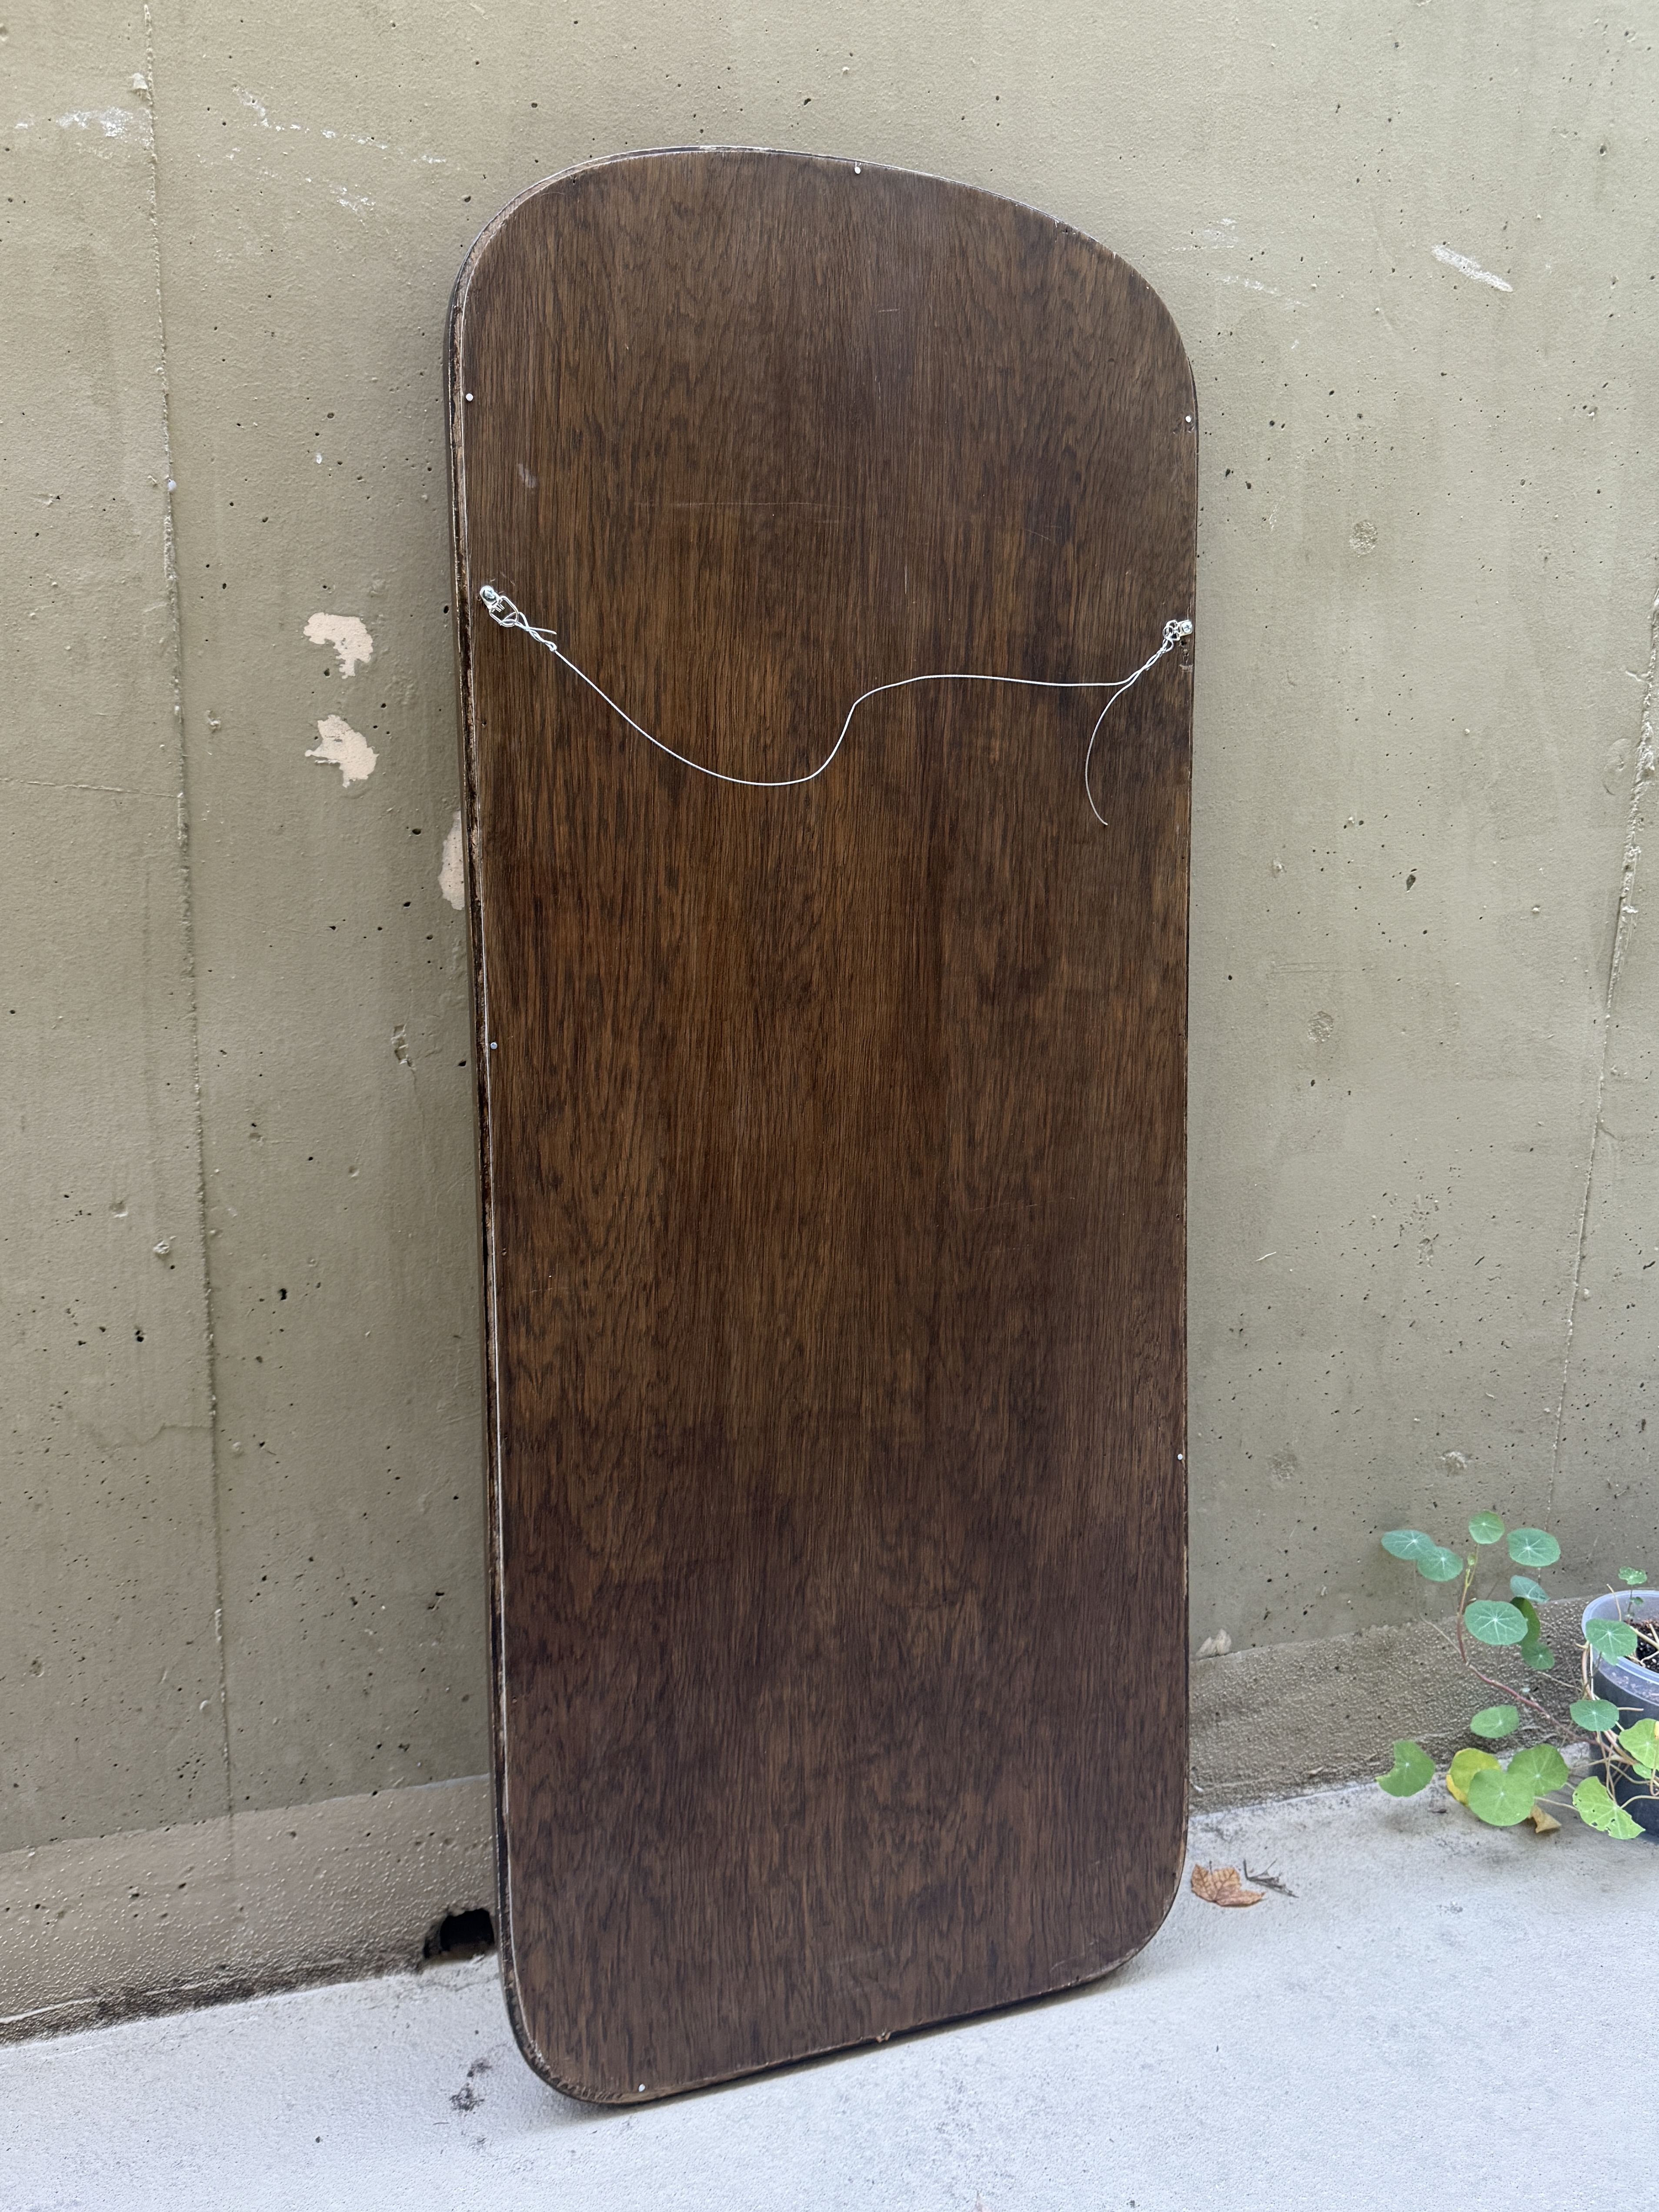
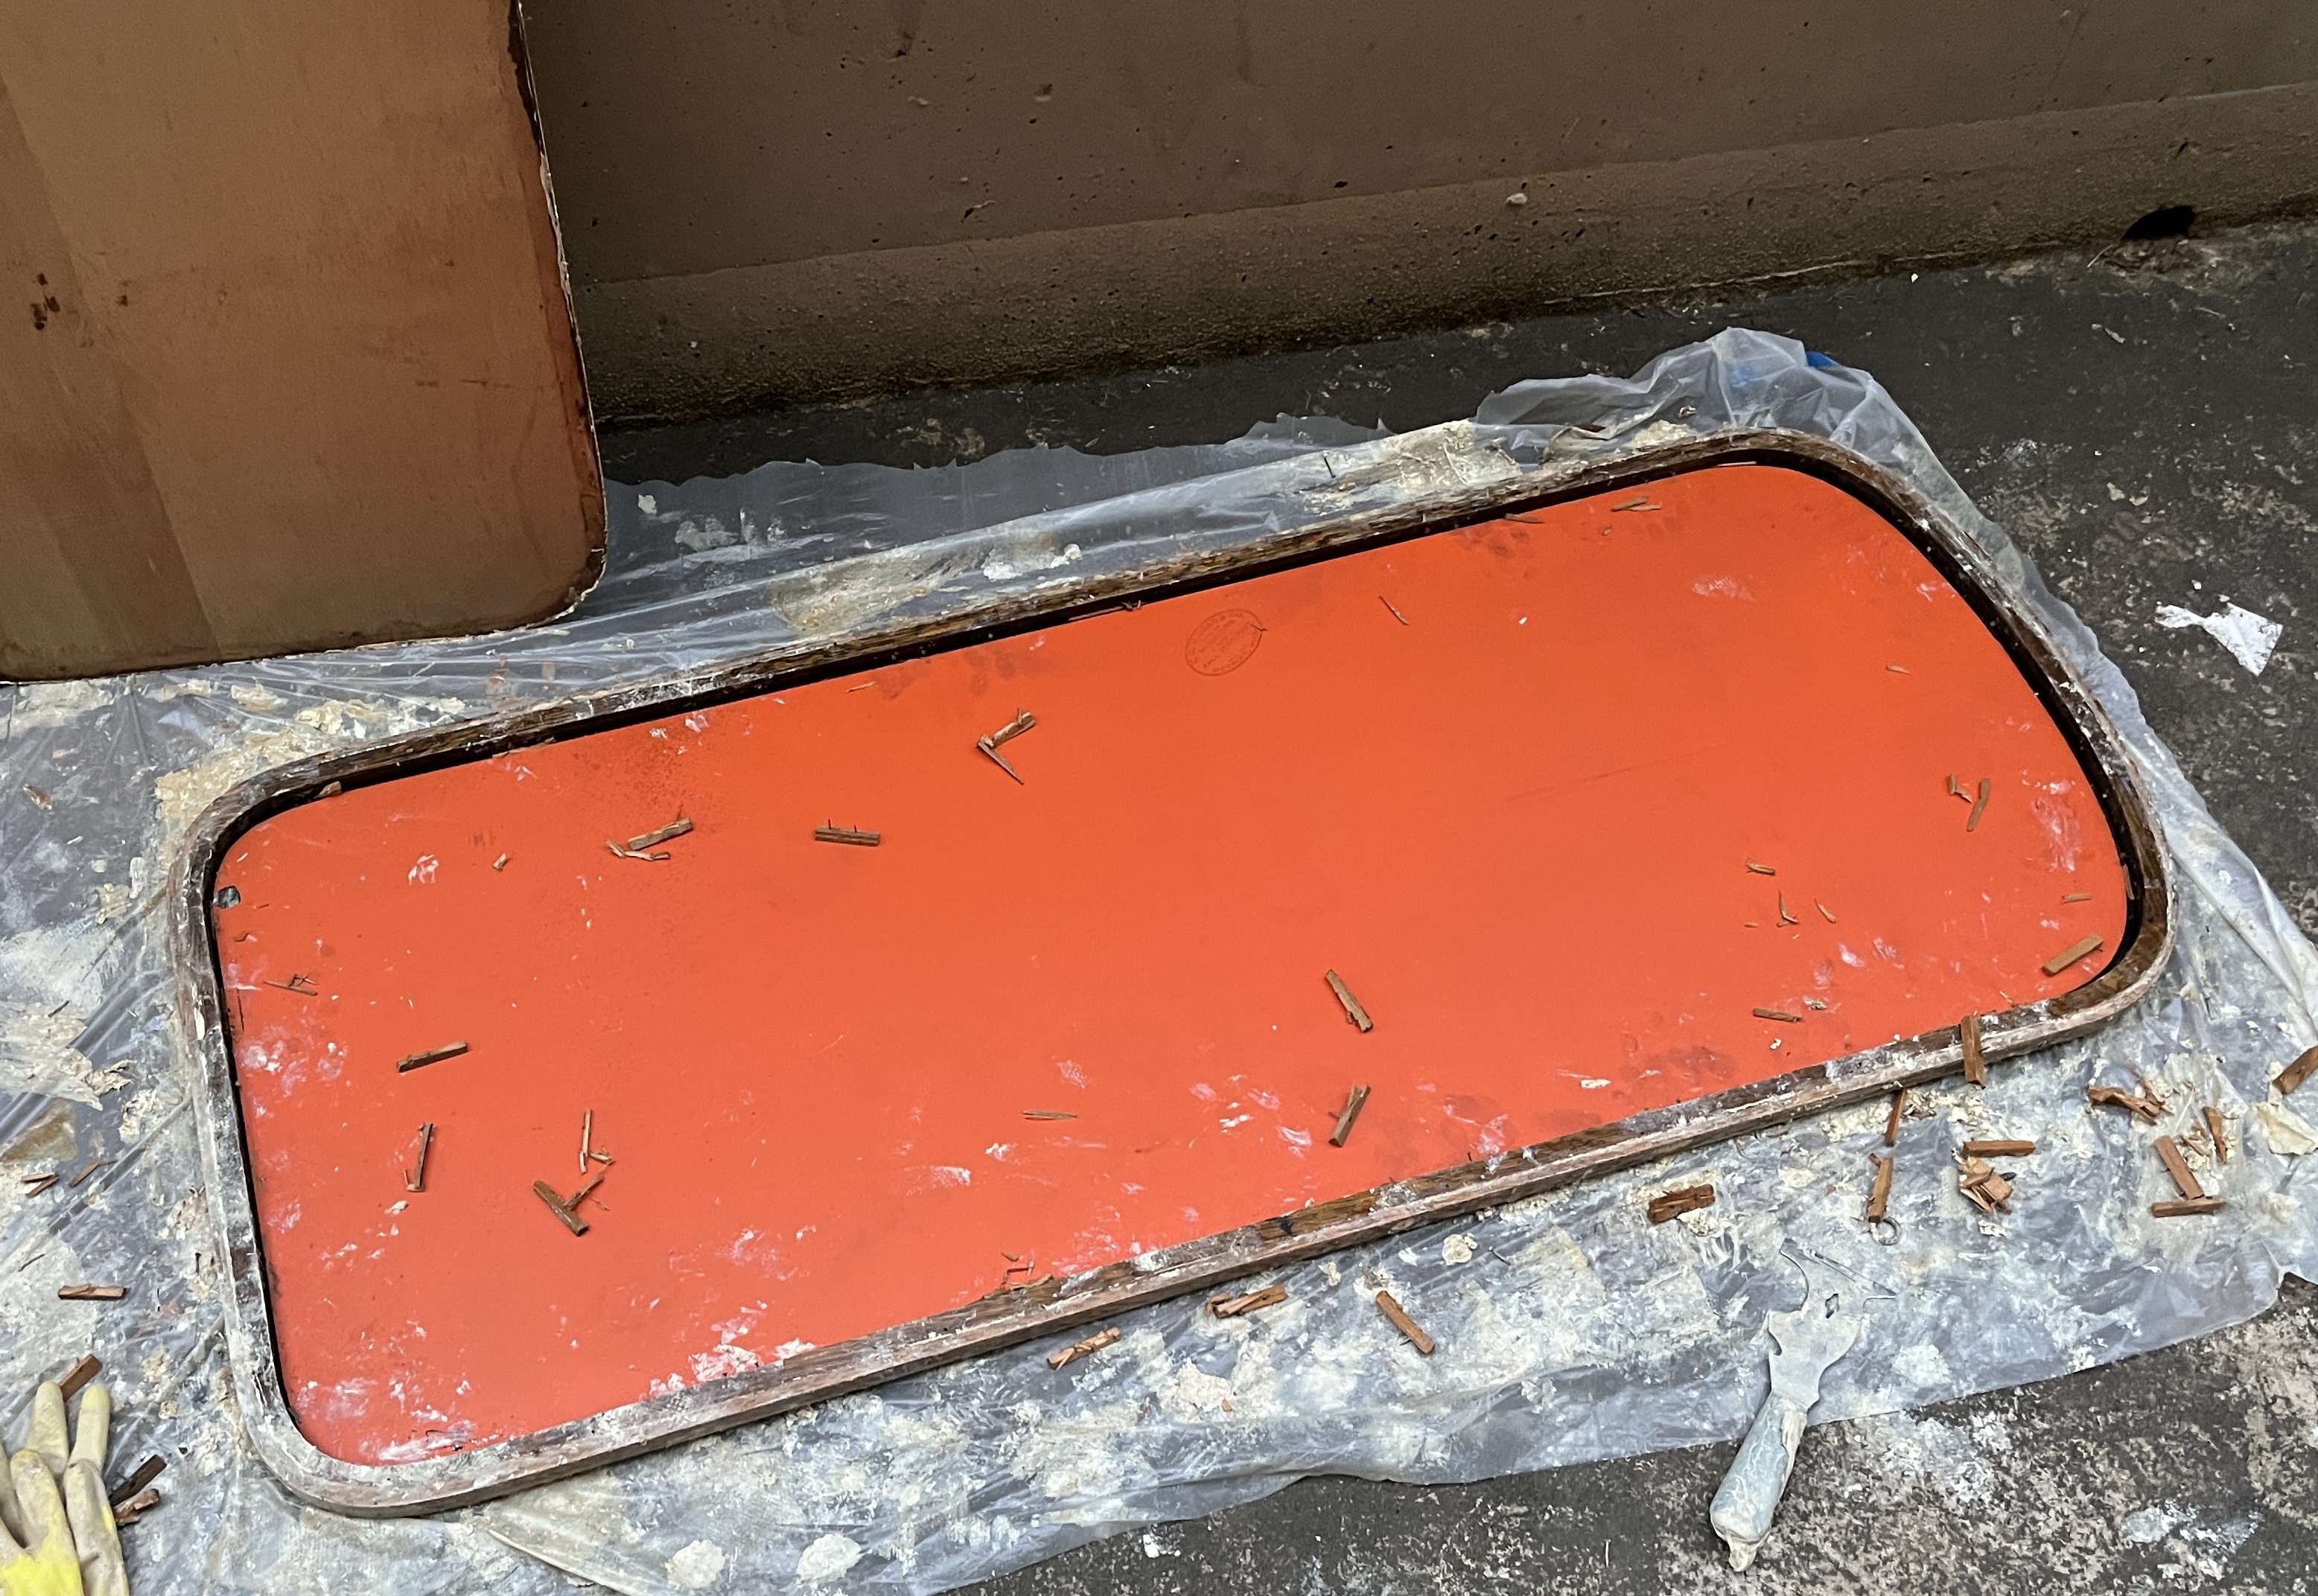
I realized halfway through that if I took the mirror out of the frame, it’d be a lot easier to lift and manuever the wooden frame by itself, so I spent a good while doing that. After I pulled the nails out of the back of the mirror, I still had to get the little wooden shims holding the mirror in the front frame out. Those were tough to remove. They were held in place just with nails, but there was grime and rust covering the nails. While I was removing them, I scraped some of the silver coating off the back of the mirror - thankfully, it was a very small scrape. In the future, I might try to restore the silver coating.
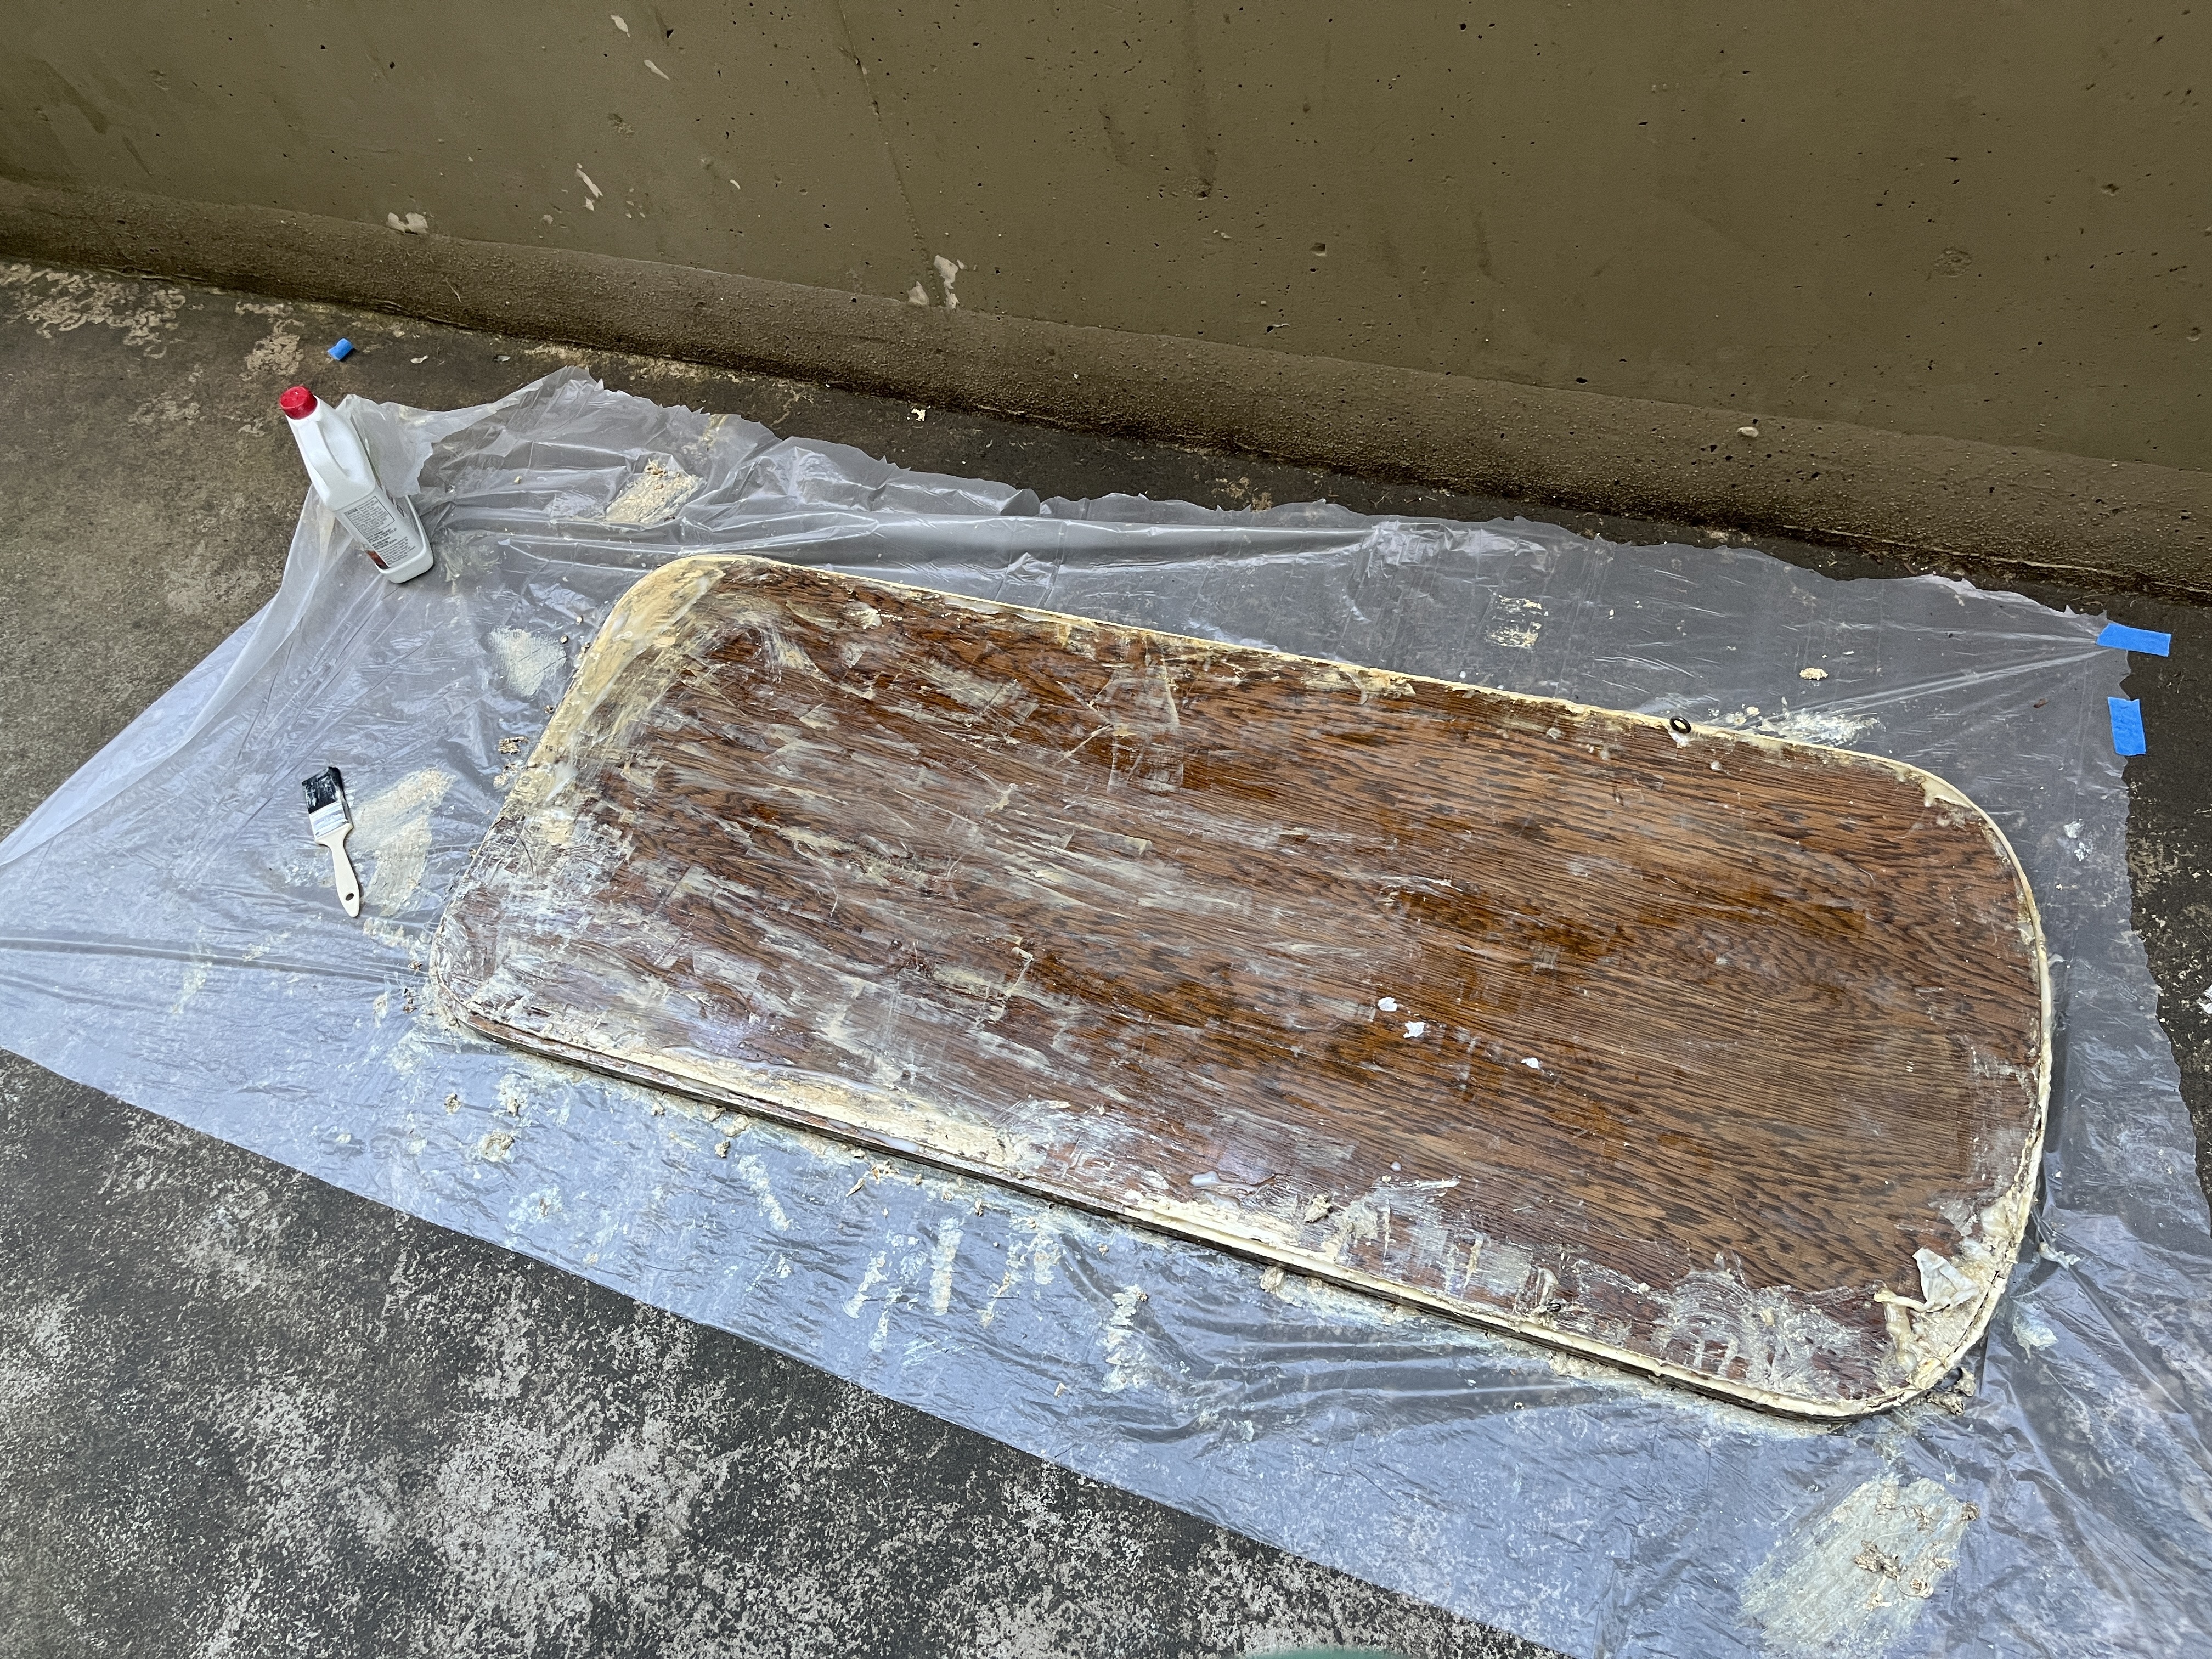
Once I got the mirror out of the frame and finished stripping the paint, I gave it a good wipe-down with mineral spirits, and then it was time for sanding. I sanded the front frame by hand, since it’s curved. I was able to use my orbital sander for the back of the frame. Unfortunately, I didn’t get a photo of sanding the back. At this point, you could really see the details of the wood, and it was as beautiful as I hoped it would be!
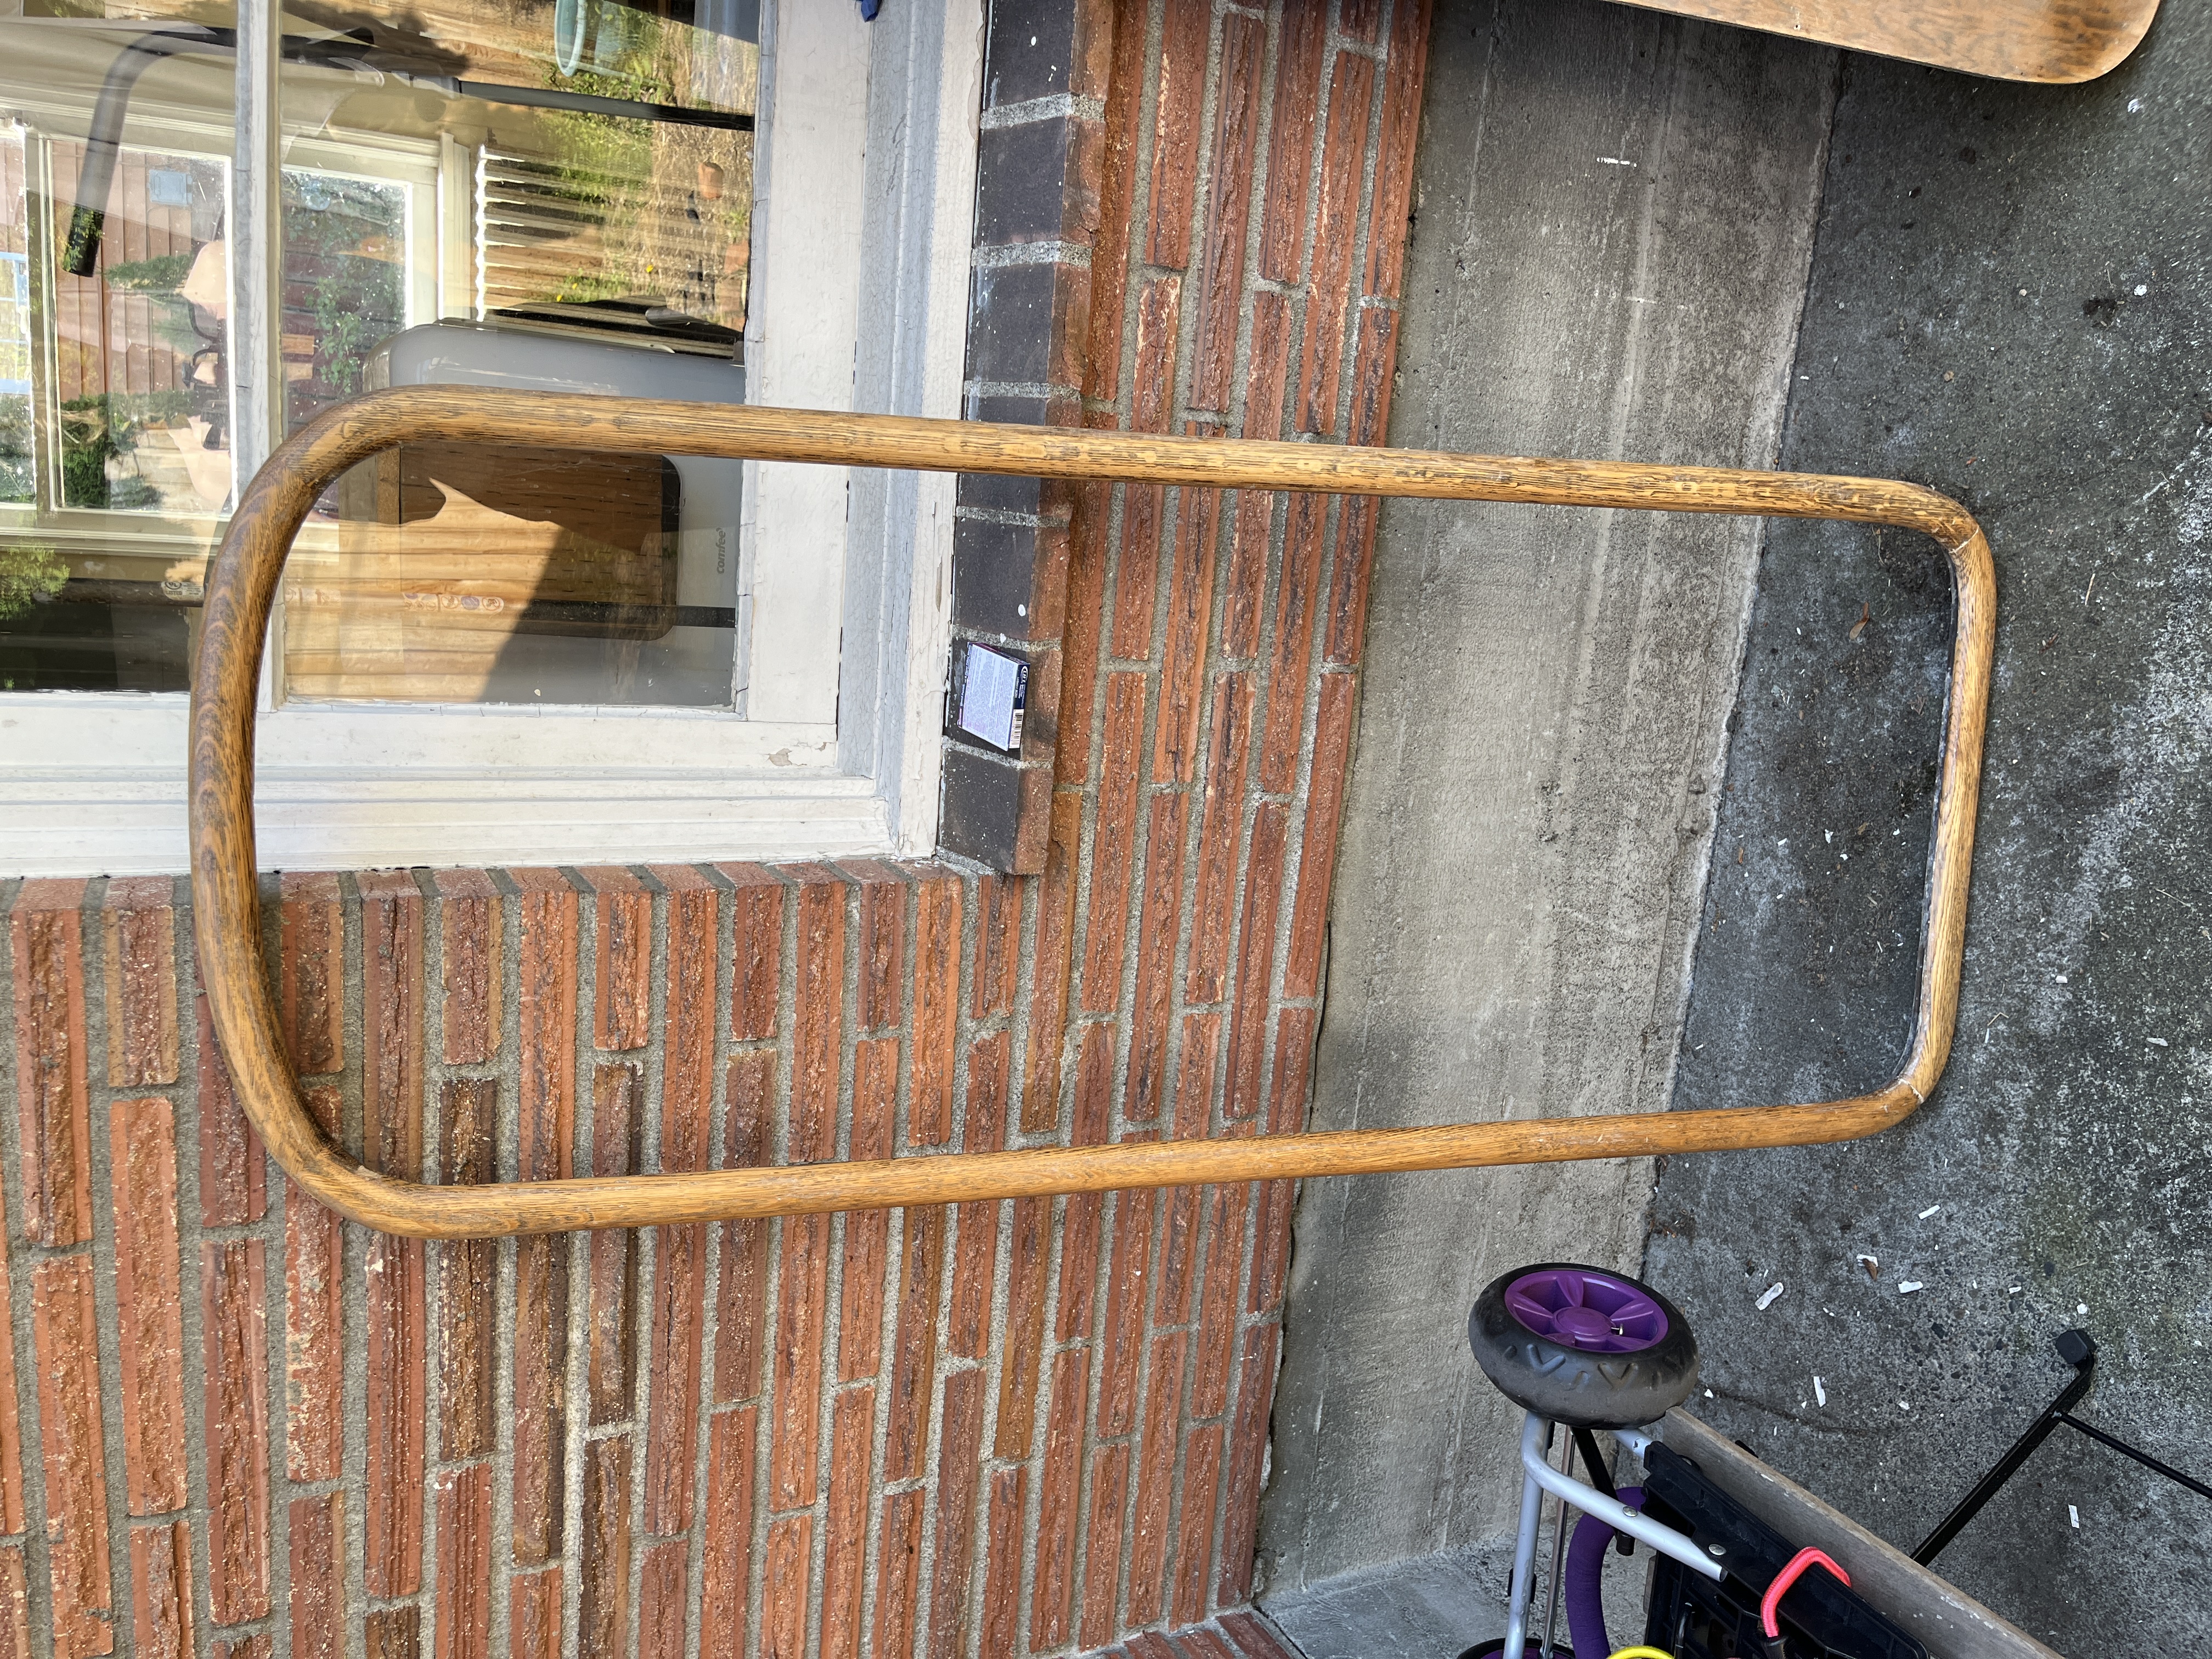
After I’d sanded it down, I stained it. I saw Behr Premium Stain and Poly in One at the store and thought “Great! That’s less steps and less products to buy!” but man, was I wrong. Water-based stains are already trickier to work with than oil-based (in my opinion), and the 2-in-1 stain is even more difficult to evenly apply than regular water-based stain. Next time, I’ll use a separate stain and poly, likely oil-based. You can see how streaky my application ended up being, though I took care to apply a pre-stain conditioner and work quickly when staining. After getting most of the way through, it was so streaky that I had to get out my sander again and sand down some of the stain/poly to start over.
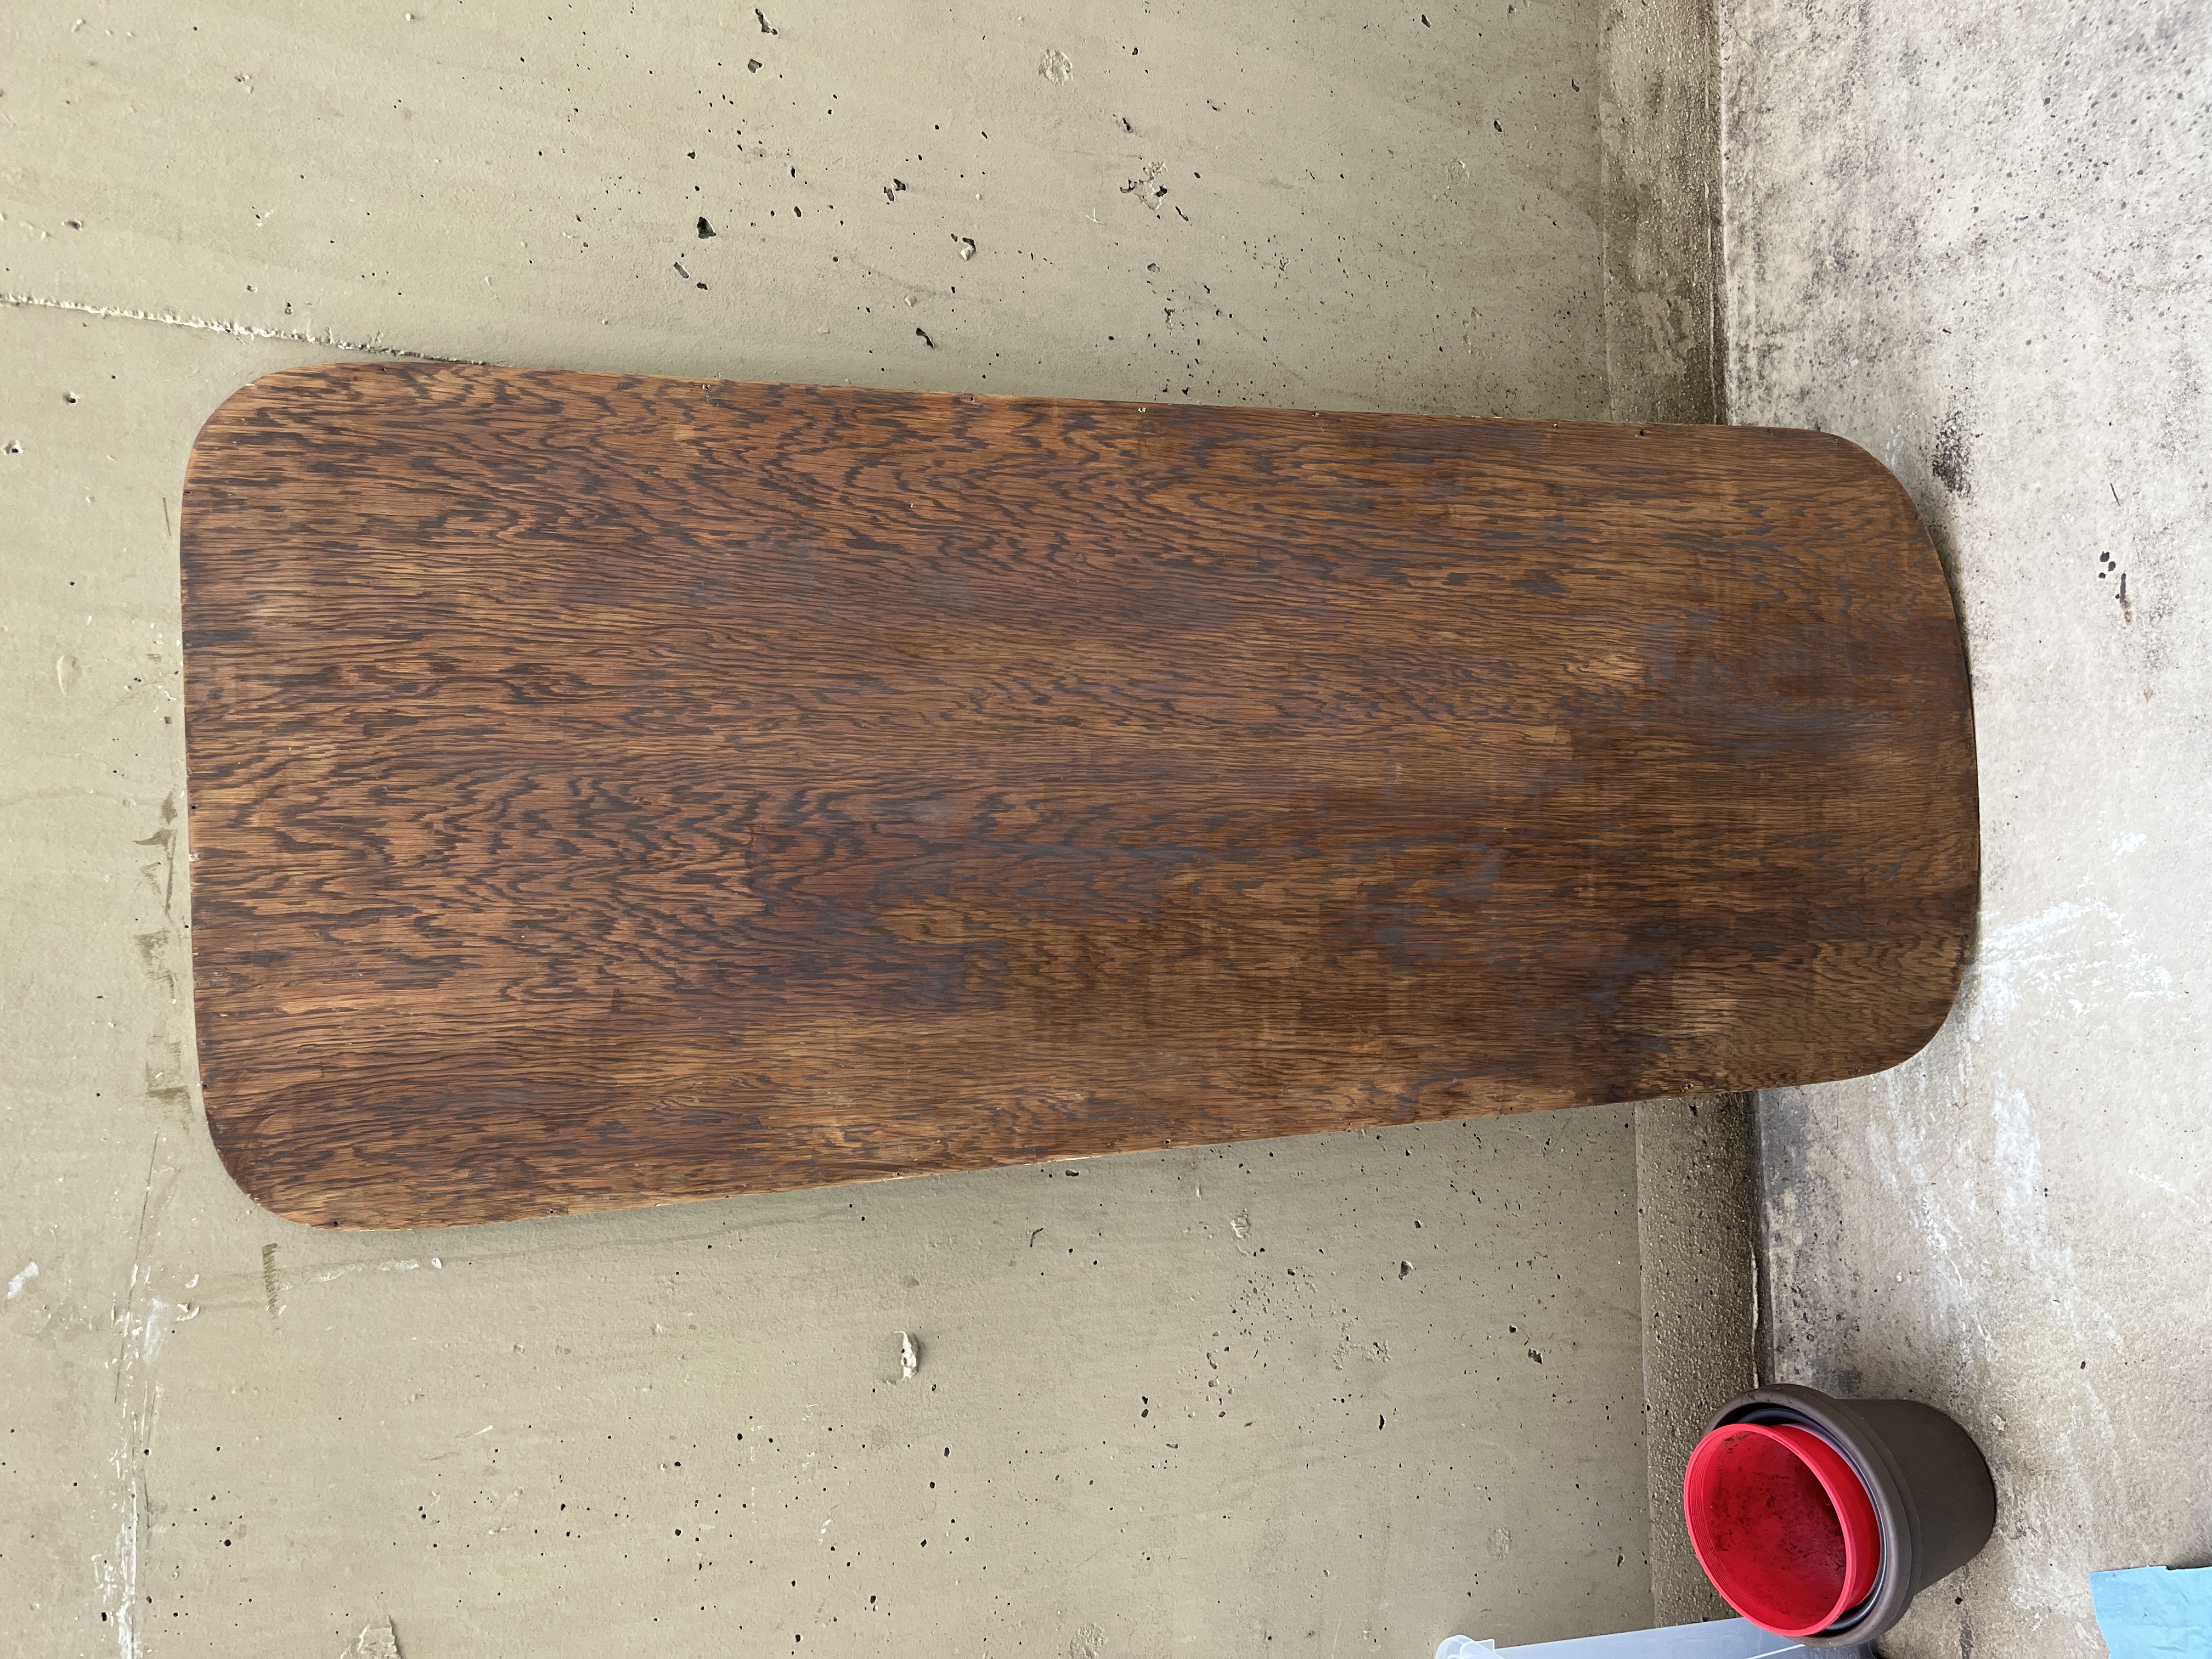
I did a take 2 of applying the stain/poly, using a larger brush and working faster. I had to apply 4 coats to get it mostly even, which meant it turned out darker than I wanted. You can’t see and appreciate the wood grain as much as I’d like, but it’s a lot better than being covered by acrylic paint. I’ll probably end up sanding it down again at some point and restaining it with different stain. But for now, I put the mirror back together, added a wall hanger, and hung it up! Now I have a beautiful vintage mirror. I’m just not looking forward to moving with it, because this thing is heavy.